

How to Plant Seed Paper and Help Your Seed Card Grow
FloraAcre Growing Guide
How to Plant Seed Paper and Help Your Seed Card Grow
There is something especially satisfying about turning a card you have enjoyed into a small growing project. Whether your FloraAcre seed paper comes from one of our plantable calendars, a greeting card, or a seasonal card, the basic process is approachable: soften the paper, place it against moist seed-starting mix, cover it lightly, and give the seeds steady care.
No gardening experience is required. This guide walks through the process from choosing a pot to caring for young seedlings—without promising that every seed will grow on the same schedule.
Before You Plant: Know What May Be Inside
FloraAcre surprise seed paper may contain one selection from 23 possible types:
- Flowers: calendula, cornflower, zinnia, echinacea, snapdragon, daisy, marigold, sweet william or shirley Poppies
- Fruiting plants: strawberry, tomato, cucumber, ground cherries, cucamelons, mini sweet peppers, lemon, or blueberry
- Herbs: basil, parsley, mint, oregano, thyme, cilantro, chives, or sage
The exact seed is not labeled on a surprise card. These plants do not all share the same germination time, temperature preference, dormancy needs, mature size, or frost tolerance. The steps below are a practical starting routine; any variety-specific directions supplied with your product take priority.
During production, the FloraAcre seed-paper blend also includes Beneficial Microbial Inoculant, Seaweed Extract, Plant-Derived Amino Acids, and Brassinolide. They are incorporated during paper-making rather than supplied as four separate fertilizers, so planting does not require matching bottled products. Because growing results depend on the seed and conditions, their presence should not be treated as a guarantee of disease resistance, certified-organic status, or a fixed germination rate.
For a shorter overview of the material and planting concept, see How Plantable Seed Paper Works.
Choose Where to Start
Let your current conditions guide the first decision:
- Cold weather: For many seeds, a sheltered indoor start is an option. You can also keep the card dry and wait for milder weather. Tender plants should remain protected until frost danger has passed and temperatures suit the plant.
- Very hot weather: Start indoors or in a protected spot where the pot will not overheat or dry out quickly. Protect new seedlings from intense midday sun.
- Mild weather: A protected outdoor container may work if nights are not too cold and the pot is sheltered from heavy rain, strong wind, and drying heat.
Indoors, a bright window with ample natural light may be enough. If seedlings become pale, stretched, or strongly tilted toward the window—or if winter light is weak—use a grow light according to its safety and distance instructions. Extra lighting should respond to the actual light available; it is not required on an arbitrary schedule.
Choose the Pot and Prepare the Mix
You will need a clean pot with drainage holes, lightweight seed-starting mix, a saucer, a shallow bowl of clean water, and a gentle watering can or spray bottle. Keep clean scissors nearby for later thinning.
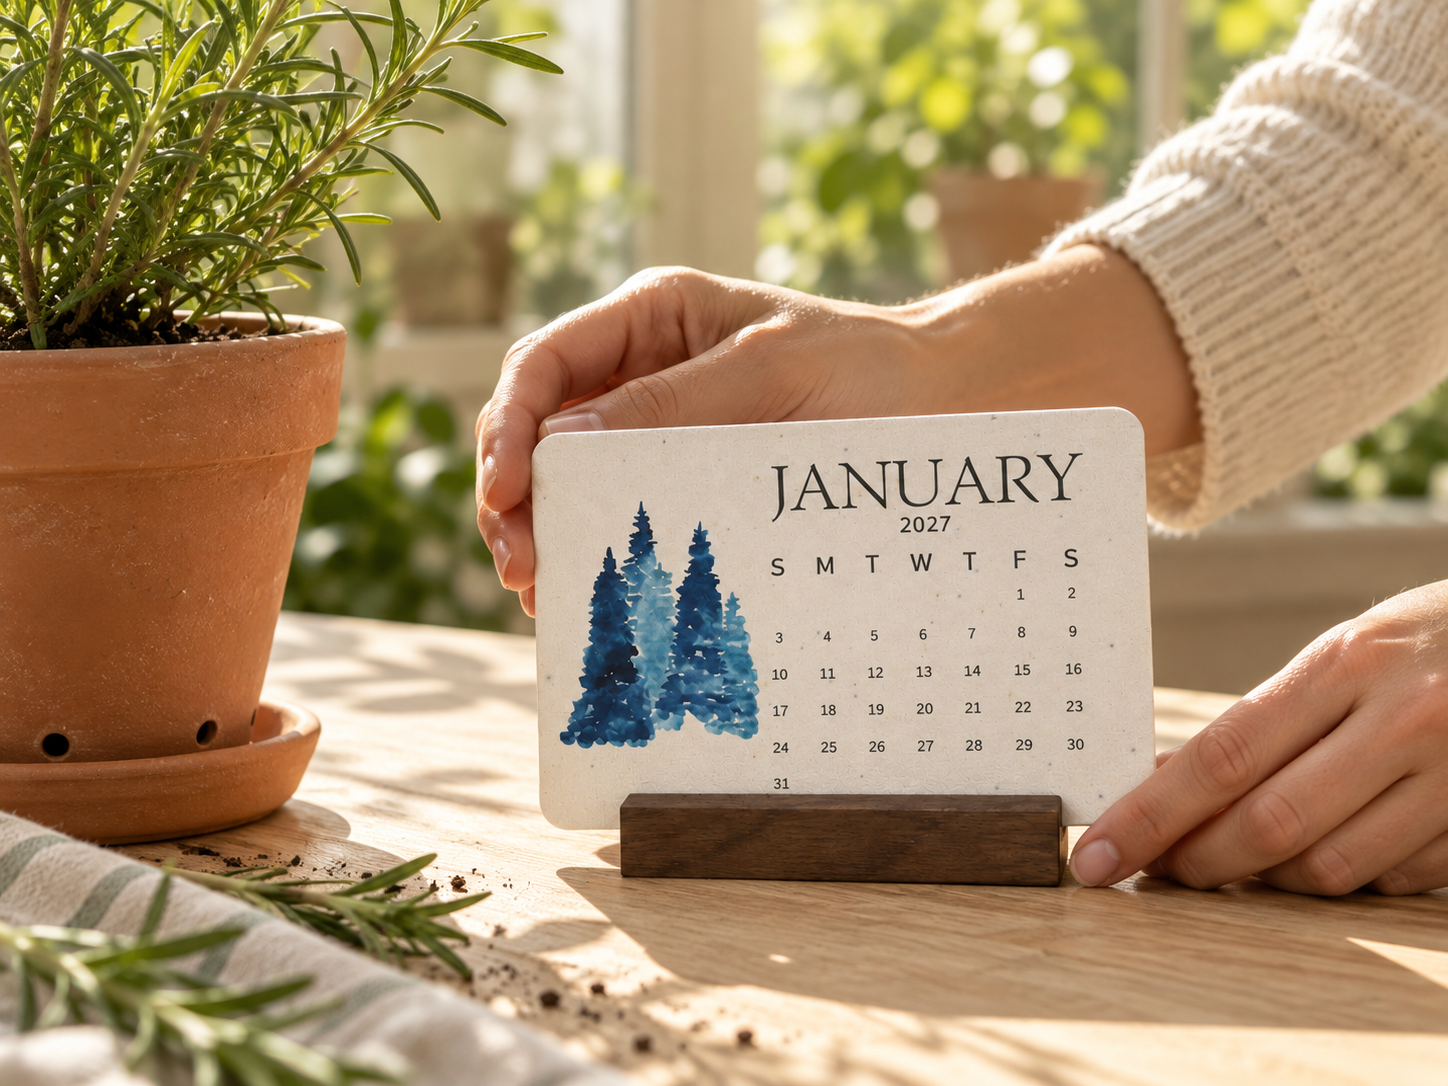
The 10.5 × 15 cm (about 4.1 × 5.9 in) FloraAcre card can be planted whole in a round pot with a usable inner diameter of at least 19 cm (7.5 in) at soil level. This measurement applies to this card size, not to every FloraAcre product.
You may also tear the dry card into smaller pieces before soaking. Plant the pieces in one pot or divide them among several pots. Lay them flat, keep them from overlapping, and leave space so each piece can contact the mix and emerging seedlings have room.
Fill the pot with seed-starting mix, leaving a little space below the rim for watering. Pre-moisten the mix until it is evenly damp but not muddy or dripping. Level the surface gently without compacting it.
Soak the Seed Paper for About 20 Minutes
Place the whole card or dry pieces in clean water for about 20 minutes. The paper should become thoroughly wet and flexible. Lift it carefully without rubbing, wringing, or pulling the wet fibers apart.
Keep the soaking water nearby for the first watering. You may use what is needed right away, but do not store the remainder.
Lay It Flat and Cover It Lightly
Place the softened card on the pre-moistened mix. If you are planting pieces, leave a little room between them and do not overlap them. Press very gently so the paper contacts the mix across its surface.
Sprinkle on a thin, loose layer of seed-starting mix—just enough to hide the paper. Do not tamp it down. Close contact helps the paper remain evenly moist, while loose mix allows water and air to move.
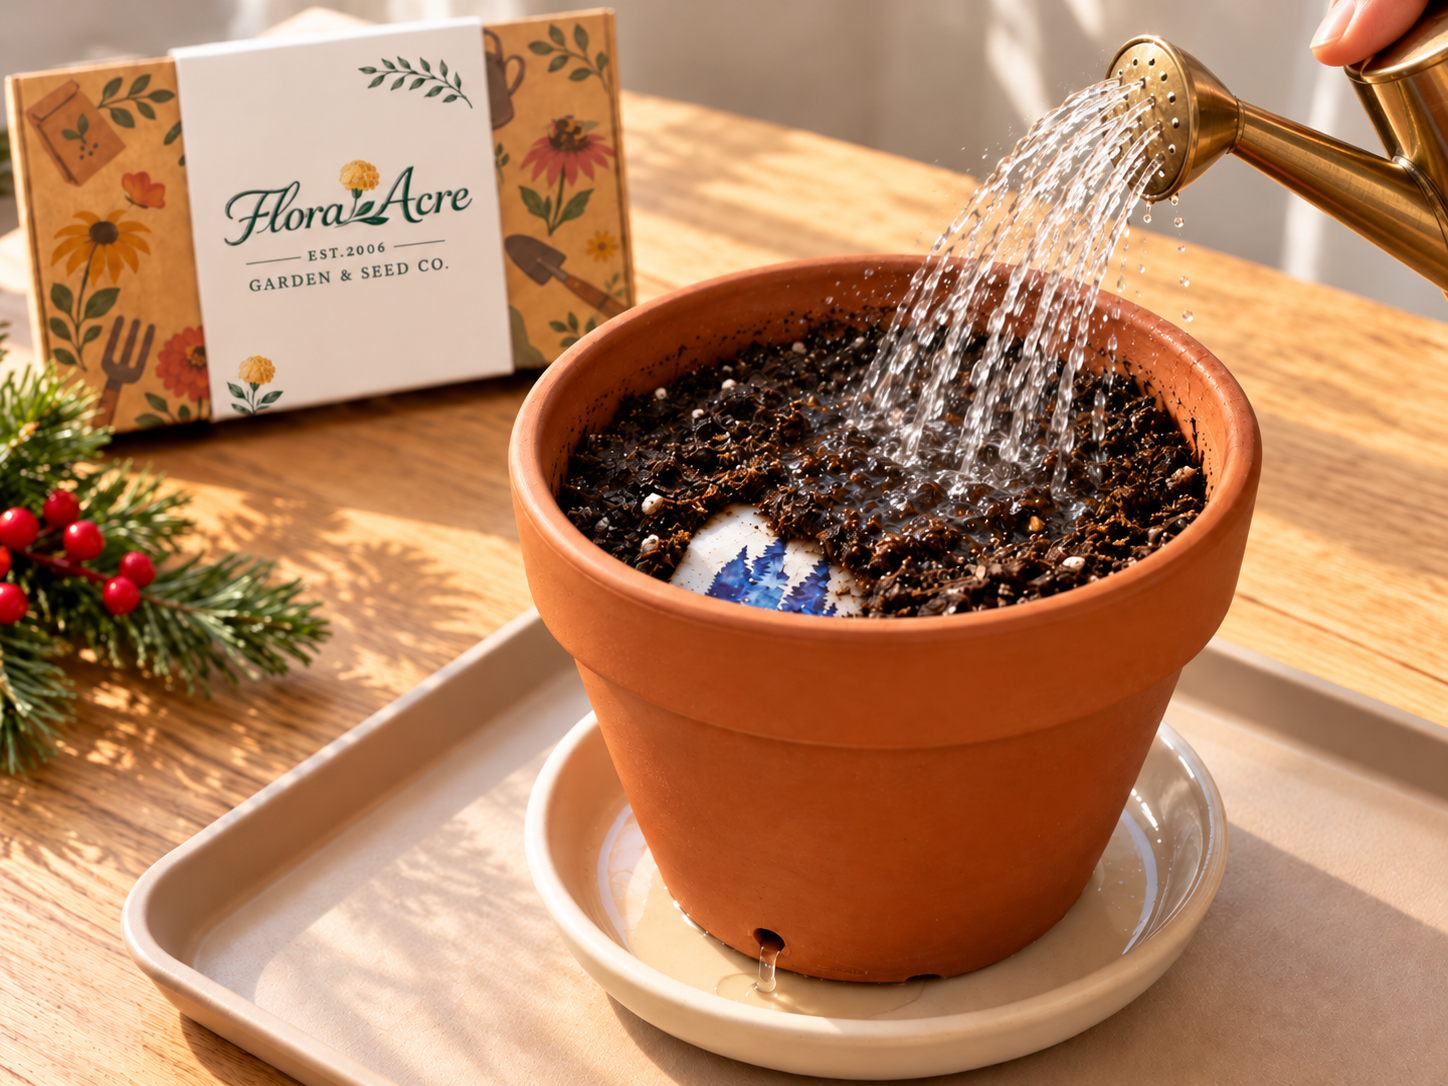
Water Until Drainage Begins
Slowly pour in only as much of the reserved soaking water as needed to wet the mix thoroughly and make water begin to drain from the bottom. If the reserved water is not enough, add clean water. You do not have to empty the entire soaking bowl into the pot.
Let the pot drain, then empty standing water from the saucer. Discard unused soaking water rather than saving it. A gentle pour or fine spray helps keep the paper and its thin covering in place.
Keep the Mix Moist, Not Waterlogged
During germination, check the pot regularly rather than watering by a rigid calendar. The mix should remain evenly moist, but the pot should never sit in water.
If the surface looks damp but the pot feels very light, water more thoroughly. If the mix stays shiny-wet or the saucer repeatedly fills, allow better drainage and reduce watering. A container with drainage holes is essential because young roots need both moisture and air.
Keep the pot away from heating vents, cold drafts, and dramatic temperature swings. Because the seed is a surprise, there is no accurate universal sprouting or flowering timeline and no promise of 100% success.
Give Emerging Seedlings Enough Light
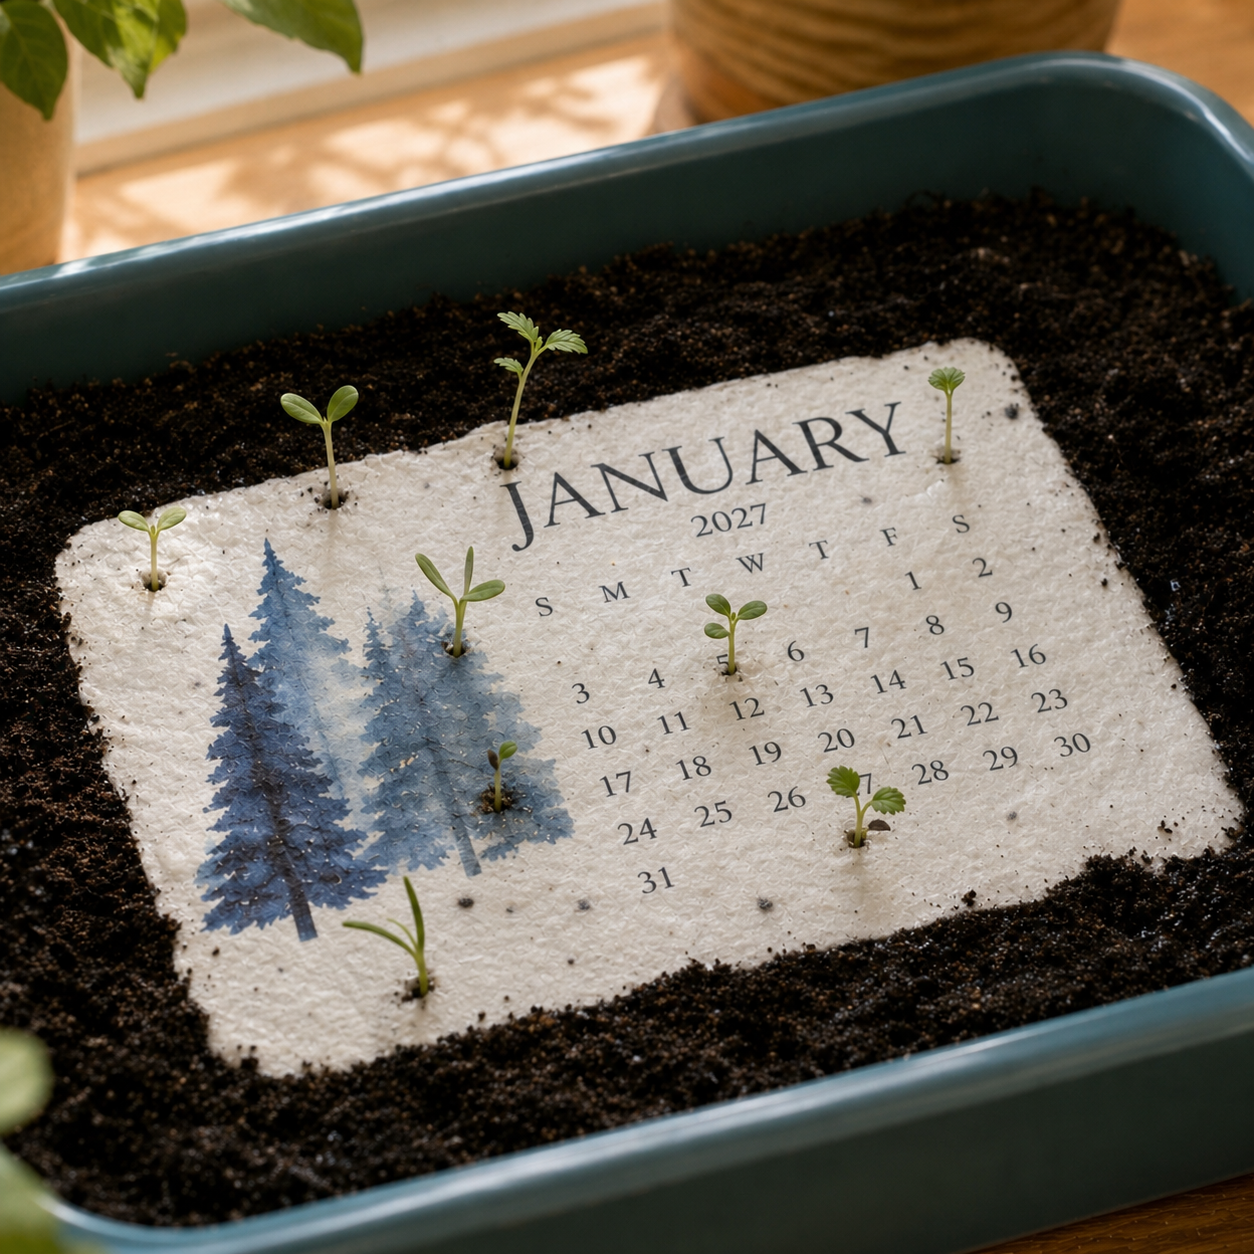
Once shoots appear, provide bright, steady light. Turn the pot occasionally if seedlings lean strongly in one direction. Continue checking moisture because a warmer, brighter location may dry the mix faster.
Do not assume a pot has failed simply because another card sprouted first. Different seeds and conditions can produce different timing. If nothing has appeared, check moisture below the surface, drainage, temperature extremes, covering depth, and whether the possible seed type could have a specific temperature or dormancy requirement.
Thin Crowded Seedlings
The first simple leaves are usually seed leaves. The next leaves often begin to resemble the mature plant; these are called true leaves. When true leaves appear, crowded seedlings need more room for light, water, and roots.
Choose the strongest-looking seedlings to keep. Use clean scissors to snip extras at soil level. Do not pull them out, because pulling can disturb nearby roots.
Transplant With the Root Ball Intact
If a seedling needs a larger container, water it first so the root ball holds together. Make a hole in the new pot that comfortably fits the root ball. Lift the seedling from below, keeping the root ball intact. If you need to steady the plant, hold a leaf gently—never squeeze the stem.
Set the plant at the same soil depth at which it was growing. Backfill gently around the root ball without crushing it, then water. If the original pot is already an appropriate long-term size, the entire pot can move outdoors after gradual acclimation; transplanting is not required simply for the sake of moving it.
Acclimate Seedlings Before Moving Outdoors
On a mild day, begin with 1–2 hours in a sheltered, shaded outdoor spot, then bring the pot inside. Over about 7–14 days, gradually increase outdoor time and exposure to brighter light. Protect seedlings from extreme heat, cold, strong wind, and heavy rain during this transition.
Tender plants should not remain outdoors permanently until frost danger has passed and temperatures suit the plant. Hardiness varies widely among the possible flowers, fruiting plants, and herbs, so there is no single nationwide date.
Questions Before Planting
Common Questions About Planting Seed Paper
Can I plant the card whole?
Yes. The 10.5 × 15 cm card can lie flat in a round pot with at least 19 cm of usable inner diameter at soil level. You may instead tear it into smaller pieces before soaking and use one or several pots. Do not overlap the pieces.
Should I use all of the soaking water?
No. Use only what is needed to water the pot until drainage begins. Add clean water if necessary, empty the saucer, and discard any unused soaking water.
How long does seed paper take to sprout?
There is no single reliable answer for an unlabeled surprise seed. Timing depends on the seed type, temperature, moisture, light, dormancy, and other growing conditions. Avoid digging up the paper repeatedly while you wait.
Can I plant it outdoors immediately?
That depends on the weather and the seed type. Protect tender plants from frost and temperature extremes. Seedlings started indoors should adjust outdoors gradually over 7–14 days.
What should I share if I need help?
Keep the product details and take a clear photo of the pot, growing location, and current soil or seedling condition. You can also review FloraAcre’s general plantable seed paper FAQ.
Ready for Another Growing Moment?
Explore FloraAcre plantable seed cards created to become a thoughtful gift and a small growing experience.
Explore Plantable Seed Cards